Hi all,
Here we are at Part 2 and it looks like to get this done right its time to remove the rear bumper…
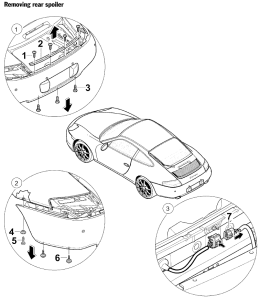
As per Porsche, here is the instructions:
So with the bumper off this is quite easy. Just drill a hole and insert the wiring/supplied grommet. The one thing is that you will end up drilling the hole behind the Porsche license plate holder. You will need to notch out the holder slightly on the top so you don’t pinch the wiring when you put everything together.
This is also a great time to seriously clean the bumper while its off as there is a lot of grime you’ll find behind the bumperettes.
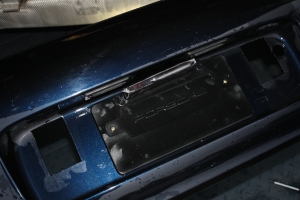
So now you have the diffuser installed, you will see something that looks like this:
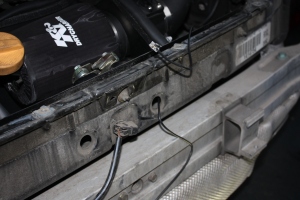
I ran my wire through the right side hole, for reasons you are yet to see… this hole leads right behind the trunk latch and is easily fed through. Feed the wiring through but don’t forget to leave a few feet of extra wire on the BUMPER side or outside of the body. This way if you ever need to remove the bumper again you have some slack to do so. You want this on the bumper side as extra wiring hanging around in the engine bay is a BAD idea.
Once you are done feeding the wires through you can reinstall the bumper.
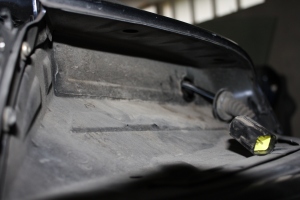
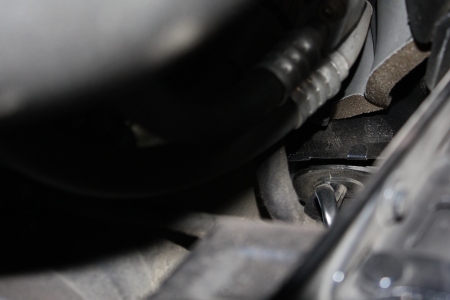
Now comes the fun part. If you remove the Passenger side tail light and then remove the grommet and wiring through the back of the housing. When you look through the hole you have just liberated, you will see a very large grommet that leads into the body.
Ok so you will use a drill with a long bit through the hole from the Passenger rear tail light compartment to the very top side FAR AWAY from the existing wires. Go slow, take your time, as you don’t want to drill wiring.
My bit wasn’t long enough to go all the way through, but about 7/8ths the way. So I used a flat head to poke the rest of it… probably a good approach anyways as its not a good idea drilling into a cavity blind unless you’re sure what’s on the other side.
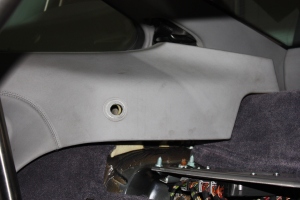
So now you will need to remove the Passenger side interior panel:
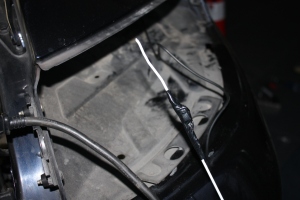
Now for the old coat hanger trick… run the diffuser wiring through the back side of the tail light housing through that hole where the grommet was and use electrical tape to fasten it to the coat hanger. I also recommend using a bit of grease on the taped area as you don’t want this getting all jammed up and not being able to get it through or out…
Punch this through as far as you can and reach inside the Passenger side fender area and you can pull the whole thing through. Zap strap the loose wires in the engine bay, reinstall the wiring and grommet into the tail light housing, reinstall the tail light and you can close up the engine lid as we’re done here…
I ran the wiring down the Passenger side of the car down to the lower carpet seam where the front lower seat belt bolts to the body. Then I ran it down the line to the console… time to remove the console!
You can use the Schnell, B&M, or any other directions you want to remove the console. The Schnell one is as good as any and can be found here: http://www.vertexauto.com/showitem.aspx?id=197844&name=Porsche%20996%2C%20997%20%26%20Boxster%20Short%20Shift%20Kit%20Schnell&
The main control unit I installed behind the area where the stereo was and the “display” I mounted in the rear comparment of the console. This is so its hidden but I can access it if I want to turn it off. I’ll probably also make a cover for it so its more hidden.
I tested it all and I got green lights so looking good. If you decide to also test this with your seats out, you will get an Air Bag light code. I have the Durametric software so I didn’t care as I just cleared the codes after the fact.
As to the remote mute, I have sourced a couple window switches and replace one of the dead switches in the ashtray area. It is very easy to get at so I’ll be doing this in the future as this project was holding me back from other things and getting my car on the road.
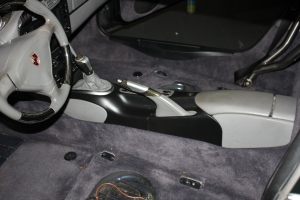
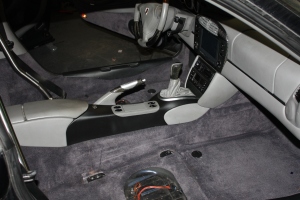
I also preped and painted my center consol to match more of the grey/black theme with the factory carbon fiber as well as the grey/black in my newly installed GT3 seats.
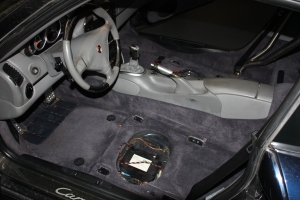
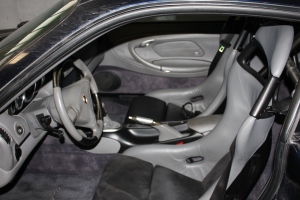
Here is a couple after shots with all the work done..
I know, one set of GT3 seat inserts is Alacantra and the other is leather… That is since one seat was originally black and I changed the color (can be seen on another post). The other seat was originally grey but the previous owner had a black interior so changed the center pads to match… ironic.
Anyways, will be putting the Alacantra back to leather when I can source an existing insert or have it recovered.
Cheers
Aaron
