Hi all,
Well this weekend I decided to tackle the Escort ZR3 Laser Diffuser/Shifter Installation.
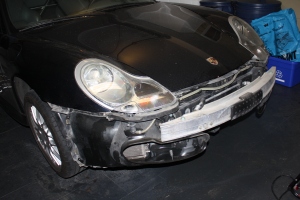
To install it correctly, it is required that you remove the front bumper to properly route the wires, etc. While you’re in there, clean your radiators! This includes unbolting and moving the condensers out of the way to get behind there.. its really ugly how much stuff gets in there so do it.
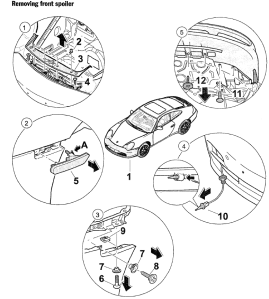
Here are the instructions on how to removed the bumper. If you are a religious man and don’t like to swear, have a friend do the 3-6 screw… you have been warned.
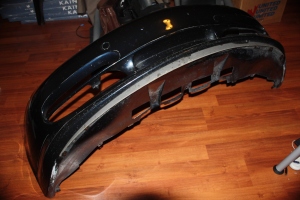
 So you have your bumper off and you have removed the ducts and cleaned all the radiators. I also took the time to clean the bumper all nice as it just makes life easier when working with it. Here are some pictures.
Obviously you can tell my car is a factor Aero Kit car, so this is an Aero bumper. This is where things may get a little different for your installation but things should be quite similar.
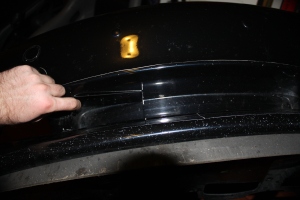
First thing you need to do is plan the installation of the brackets. You don’t want to drill your nice Porsche bumper to Swiss cheese, so make sure you have it right. Remember, these things need to be flat and level with the road ahead, not follow the nice curve of your bumper.
I did have an option of cutting out the center area as if I was installing the GT3 front radiator to get them sunken in behind the bumper out of site, however I didn’t want to drill into the sheet metal and I also didn’t want to mess with the aerodynamic properties of the bumper as I feel opening this up would reduce overall downforce. A nice feature to have at high speeds in an ass heavy Porsche…
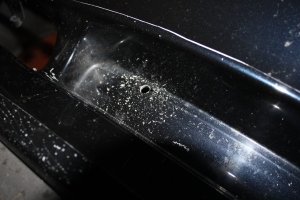
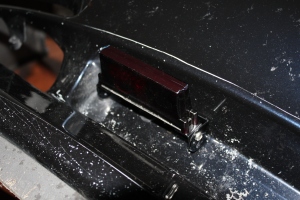
So I marked the holes to mount the bracket and I drilled the hole for the wiring. There is a rubber grommet included on the wiring so this get all finished off nice when its in place.
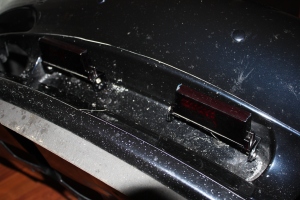
There is the first one done all mounted and the grommet in place. Due to the curve of the bumper, this will stick out on one side of the diffuser from the bumper making it a visible item. I’m not too happy about that as I like things all flush and factory, however given the option of ruining aerodynamics I can live with it. Also my car is Ocean Blue Metallic aka really dark, so they don’t show up much after its on the car.
His friend installed as well… I’ve heard that the further the separation of these the better, however there is no room in the air inlet area of my bumper. Plus then I’d be putting something in the way of the air intake for the cooling system and again, I didn’t like that option.
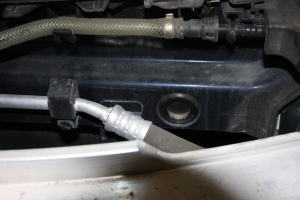
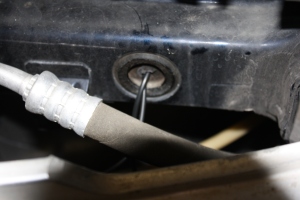
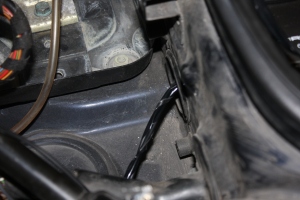
Ok bumper is ready, now the meat of it… In the front structural area of the car you will see two grommets. One is used for wiring and the other is used for nothing. Packed full of convience… Just make a few small cuts and run the wires…
… like this.
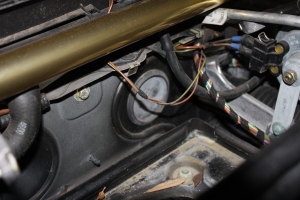
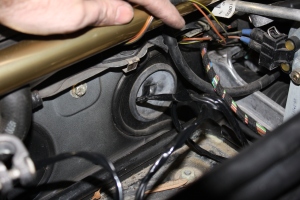
So I ran the wires up the Driver’s side of the inside trunk area and behind the brake plumbing. I then noticed that there was another unused grommet behind the CD stacker on the passenger side… so I ran the wiring behind the brake booster, amplified, and CD stacker through this second unused grommet…
… like this.
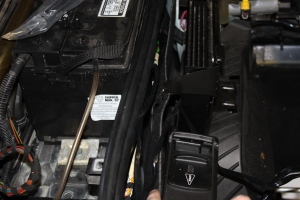
So to get it into the car. You need to remove the battery to accomplish this and while you do, take the time to clean your terminals and battery posts as this should be a regular thing anyways. On the Driver’s side you will find… guess it… another third unused grommet!!! Few cuts and run the wires…
… like this. There is nothing behind there and you just push them right through. Reach up behind the pedals and pull them through. For now I have tucked the wires up and out of the way as I will be doing the final portion of the installation next weekend.
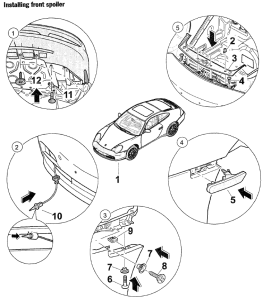
Time to reinstall the bumper and put the front boot area all back together again…
That’s that for Part 1. In Part 2 I will be showing the installation and wiring of the rear component specifically and in the final Part 3 I will show where I decided to put the final parts of the components including a nifty solution to where to install the remote mute button.
Cheers
Aaron
